I used to be a big fan of buying Space Marines cheap on eBay, stripping their often terrible paint jobs, and repainting them as part of my growing army. In fact, a good majority of my models were acquired and completed this way. For example, these pictures show before and after for some of my bikers:
Simple Green and Easy Off Oven Cleaner were my tools of the trade, with acetone joining in later. The sink in the guest bathroom/laundry room was often licorice scented (from Simple Green) and paint-spattered. These days, however, I'm a total model snob. I have amassed enough parts and kits that I've not built a totally refurbished model in quite a while.
Today I was brainstorming some fun ideas for the hobby, and wondered how interesting it would be to see a full army go from junk to jewel in a photo timeline. The loose plan would be to buy an army secondhand, with a fixed layout. Take a single combined army photo, as well as individual unit photos as a baseline. Then, using a single new box set, slowly rotate the old models into and out of the paint stripping bath. You'd build one brand new model from your box set, and pull one old model from the first unit. Strip the old model while painting your "seed" model. When the seed model is done, put it into the unit and take a picture. Begin painting the stripped model while stripping a second. It's a little cycle that would allow you to document the whole process.
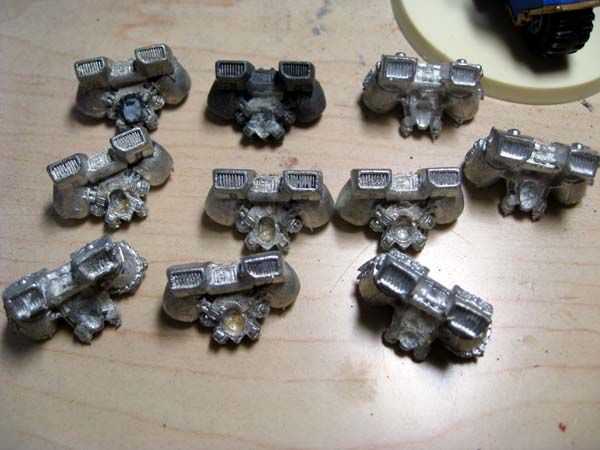
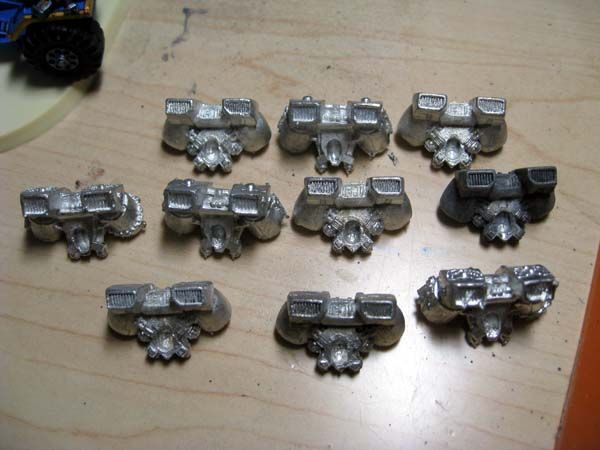
The rest of the box set is there to use for repairs, spares, and embellishments. For example, some models simply cannot be saved from their paint jobs. I found a whole batch of Marines I'd bought secondhand had scarring and bubbling under a super thick coat of glossy spray paint. I managed to save some, but several had had complete sections of detail burned away. I salvaged the non-burned parts, but had to replace bits to get full models.
It might also be interesting to document your costs. Get a baseline cost of the army when you buy it, plus the cost of your "seed" box, a gallon of Simple Green, and a can of oven cleaner. Keep a running tally each time you buy parts, paint, and supplies. When the project is done, it would be neat to compare the retail cost of that army to what you've spent.
I think a Warhammer Fantasy army might be easiest to document. The block layout of units facilitates nice photos and a "start to finish" progression. There are also a lot of very simple WHFB models, like the single-piece Dwarfs from the old Skull Pass box, Orcs from the Empire/Orc starter, etc. Alternatively, a 40K Ork army might work well here, as it is both an army that can be acquired cheaply, as well as an army that typically has some scary beginner paint jobs and the ability to facilitate conversions and kitbashes in order to salvage as much of the old models as possible.
Of course, I definitely don't have time for such a project any more. With a new excitement for my Marines' focus of fast attack, the glacial pace of my Nids, and life in general, I don't think an Ugly Army project would progress at anything but a complete snail's pace, making it hard for readers to follow.
Maybe in the far off future...
Showing posts with label Paint Removal. Show all posts
5.15.2013
10.18.2012
Quick Tip: Acetone
I just wanted to share a quick tip for refurbishing old models: acetone.
When I first started in the hobby, I was a poor waiter struggling to pay my phone bill, let alone buy models. As a result, I was turned on to eBay and secondhand models. I quickly learned how to remove paint and recover abused models, all for a fraction of the cost of new stuff. I no longer buy used models (I only buy bitz online, and all my new kits from the FLGS), but I haven't lost those salvage skills.
One trick I learned was the use of acetone. Any hardware store employee will tell you that acetone is a solvent and used for thinning paint or removing adhesives and glues. Any Poison Control Center employee will tell you it's perfect for removing superglue from one's fingers.
I have a love affair with metal models, and hoarded a ton of metal jump packs, seen here:
I stripped the paint off of most of these using a process involving Simple Green followed by overn cleaner. I'll cover that process in a later post. The problem with those two methods, though, is that they don't remove glue, enamels, or varnishes.
As you can see in the photo, some of these packs have significant amounts of old superglue, plastic, and general crud built up in the seams. The pack in the far upper left actually has part of a plastic torso stuck to it from when I ripped it off the unsalvageable Assault Marine. There's a ring of Testor's enamel paint around it, and a whole lot of superglue.
Enter the acetone!
Get yourself a small glass jar and a can of pure acetone. Don't waste your time with nail polish remover. It's actually cheaper by volume to go to the hardware store and get a small can of pure acetone.
Also, save yourself a disaster and do not use plastic jars, cups, or containers for this. Acetone eats most plastics almost on contact.
Fill the jar with your models and bitz, and pour in enough acetone to cover them all. Put the lid on tight and set the jar someplace no one will disturb it overnight.
Come back in the morning and open the jar. Pull out the pieces and rinse them off under warm water. All of the superglue and paint should have dissolved away, leaving you with fresh metal parts.
The jump packs are all now squeaky clean and ready for use by my Marines!
I wanted to show you what happened to the plug of plastic on the previously highlighted pack but as I was pulling it out of the jar, I dropped it down the sink. Oops! Acetone essentially reduces polystyrene (the plastic our models are made of) to the consistency of Silly Putty.
Never, EVER attempt to remove paint from plastic or resin models with acetone of any sort!
Subscribe to:
Posts (Atom)