Showing posts with label How-To. Show all posts

8.17.2017

Ye Olde Landspeeder Assembly


My goodness! It's been just shy of two months since I've had anything to say about 40K. This has been a very busy summer here on the farm, which is great for business and not so great for hobbying.

I've just been picking away at my trio of Landspeeders this whole summer, and am finally ready to start assembling the main bodies after magnetizing everything and painting the pilots and heavy bolter gunners. The multimelta gunners are still a work in progress.

Over the course of building these old, Third Edition speeders I figured out a few tricks that might help someone else that ends up with one. They're pretty common to find on eBay, and the kit is a bear to assemble when compared with the current version of the sprues.

The biggest problem you find with these Speeders is that the top half and the bottom half tend to warp a bit in the front-to-back dimension, meaning the middle rarely closes cleanly. This seems to be the fault of the crew chair assembly. If you look at the picture below, where the chair is not glued in, the gaps are manageable.
But once you add the crew seats, things get all wonky.
 
Obviously, the seat assembly is a little too large in certain areas. So, break out the files and start filing slightly at each of the locations marked in the images below:
Get the groove above the seats, the top of the dash, and the top of the air intake.
File the sides of the seat back piece and the sides of the seats themselves.
You also want to make sure the seat assembly sits flat in the bottom of the hull. The best place to check is the gap just below where the doors would attach, near that textured diamond plate section.
After all that filing is done, your gaps will be a little more manageable...
 ...until you try to glue it together. You're going to need a lot of clamps!

You'll notice I have one clamp pressing down just behind the angled air intake on the roof (far left Irwin clamp). This one provides top-to-bottom pressure and ensures the back section is glued flush. You can make sure by looking in the back of the chassis and making sure the pieces have no gaps. Sorry, I didn't get a good picture of that part.

The center Irwin clamp is pressing the sides in. If you exert too much pressure on the top-to-bottom clamp, the middle likes to bow outward.

The red and silver clamp on the right holds the nose section together in a top-to-bottom direction.

And finally, there's that pink rubber band pulling from the dash area to the lower nose. This pulls the seam below the dash laterally to close that gap. Because you cant get a band in there normally because of the center cockpit support, you have to pass the band through the cockpit and pull both ends toward the nose. Then put a pen or something (I used that purple sculpting tool) through both ends and twist it to provide torsion or tension or whatever to close up the gap.

You can probably understand why GW had this kit retooled. The modern version is a million times easier to assemble without gaps. My three Speeders didn't come out without any gaps, so I have to get some Liquid Greenstuff to fill them in and file smooth. I might try the "sprue slurry" method as well. It's where you melt some sprue shavings with liquid cement and spread the goop in the gaps, let dry, and then file smooth.

One final tip, that really should have come first is that you want to assemble as LITTLE AS POSSIBLE before gluing the halves together. Don't glue the rear airfoil on the roof, the gun rail, the pilot shield, or even the little mast thing that sticks out of the bottom. I made the mistake of doing so and all of those pieces get in the way of clamps and rubber bands and WILL break if you're not incredibly careful. You only get one of each piece in a kit, so there's no spares if you snap off the gun rail or crush the rear airfoil.

Honestly, I'm probably never going to build another of these old Landspeeders again unless I get an insane deal on one (like five dollars each kinda insane). They don't come with all the available guns (no Typhoon launchers and no nose guns), and take so much additional effort to build that it's probably worth the extra money for the modern kit. But if one crash lands in your lap, now you know how to make the process slightly more bearable.

I hope to have these suckers primed and paintable in the next several days. If I use the sprue slurry method to fill gaps, I'll do my best to document the process.




9.11.2013

Blast from the Past: Master of the Forge

Yesterday I was asked how I created my scratch built conversion beamer for my Master of the Forge. This is a model I made when the 5th Edition Space Marine codex dropped. I'd done a ton of research on conversion beamer fluff, and even managed to get a bit from the old Space Marine board game. Problem was, that bit was lacking in detail. I decided to build one myself.

Originally, I'd chronicled the process over at Bolter and Chainsword on the blog I used to run there. When B&C crashed and decided to not revive the blogs, the whole process was lost to the Warp.

This is my "from memory" attempt to describe the process again...

The first thing I did was select all the parts I wanted to use:

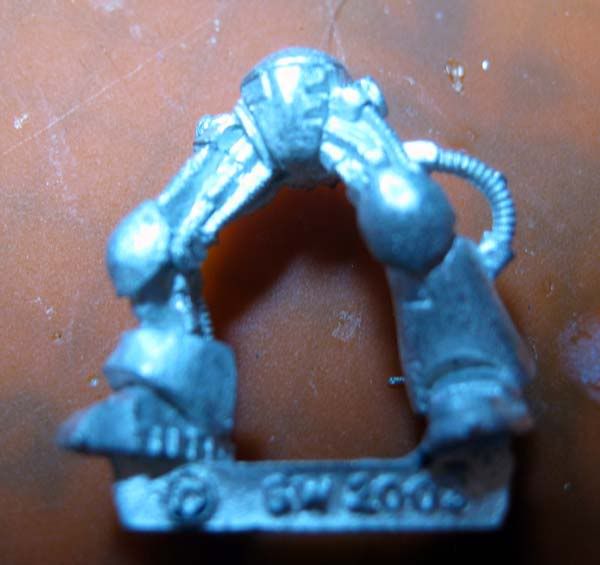
Pictured are a Black Templars scabbarded sword (I wanted the option to give him a power weapon, but didn't want it blatantly visible and therefore a must-take), a set of used legs (this was back in my "too poor to buy new stuff" phase, where I was buying cheap lots on eBay and stripping them for parts and to refurbish), a damaged metal multimelta backpack (the previous owner had lopped off the cable feeds and put some sort of pin in the top), a metal Iron Warriors upgrade torso, bolter arms, the Techmarine head from the Ravenwing box set, a Mechanicus pad from the Marine vehicle upgrade sprue, an a Chaos Marine Terminator Reaper Autocannon.

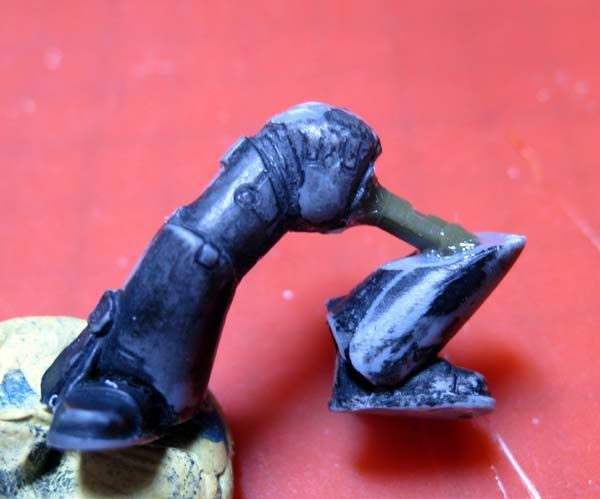
The first thing I'd wanted to do was repose those legs and give him some bionics. I cut a piece of round sprue from a model jeep kit and replaced the thigh with it. I'd intended to add additional cables and coils around it. This shot shows how laughable the attempt was:

I then decided to get rid of the Dark Angels iconography on the Techmarine head. I didn't have any Greenstuff at the time, so I filled the area with plastic glue. I waited for it to dry, and then filed it down smooth. Again, pretty sloppy and laughable looking back:
 
 
I then started working on the beamer. I began by lopping the barrels off the autocannon, because I wanted those recoil compensators to be energy coils. After some misadventures, I ended up drilling three lengths of paper clip into the front, and slipping tubing from Q-Tips over the top and bottom ones. I then found some random flat oval bit, drilled matching holes, and used it as a brace or end cap. I think my intent was to use this assembly as an energy collection point, with the tubing painted like it contained an energy beam inside each one.


The amount of glue used to make all this stick was appalling, and it really ruined the finish on the parts. Plus, it looked a little too thin to be a big, scary weapon. I decided to wrap the whole thing in wire to remake the coils. Also, I'd replaced the Terminator arm section with the equivalent piece from a regular bolter arm:


I'd used 40-gauge floral wire to wrap the coils, and it was a bitch towards the end to keep together. This resulted in gaps. However, I needed some sort of support structure for the coils anyways, so I covered most of the gaps with pieces of bent 1mm plasticard (actually a 'for sale' sign I'd bought for that purpose). These are superglued to the coils and then plastic glue was used on the backside to blend the joint by the melt-then-sand method I used for the helmet.
 
 
I needed a little more structure, so I added a random piece from the jeep model underneath the assembly, and then added focusing/discharge coils in the form of the shock springs from the same jeep kit.

I then added a final focuser to the front in the form of the upright from a radar dish off of the Marine vehicle sprue. But the gun was now massive, and would require two hands to hold and fire. I added a handle by chopping up some bit from a Baneblade sprue.

Because of the positioning of the handle, a regular bolter support arm wouldn't fit. So, I grbbed a spare biker arm, sliced off the hand (the grip was too small), and attached the hand from the bolter support arm.

By this time, I'd scrapped the idea of making my own bionic legs, and began searching for alternatives. One option was to slice the legs off of one of these old Devastator models:

But I somehow landed a set of bionic legs from the Iron Hands kit instead:

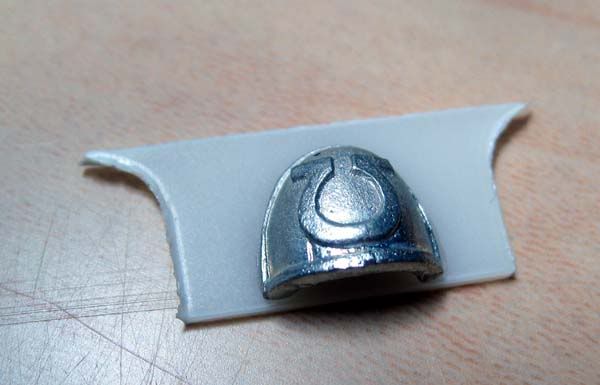
I wanted him to have a fancy shoulder pad with a deflector on it, so I glued plasticard to the back of a metal Ultramarine pad, and then trimmed away the excess. This is what bitz poor people do in place of expensive bitz!

Some posing and assembly of his body:

And then assembly of his gun, arms, and pack, plus the addition of his fuel delivery lines. These are actually wires from a phone cable I tore out of my house while redoing rooms.


Some WIP paint pics:

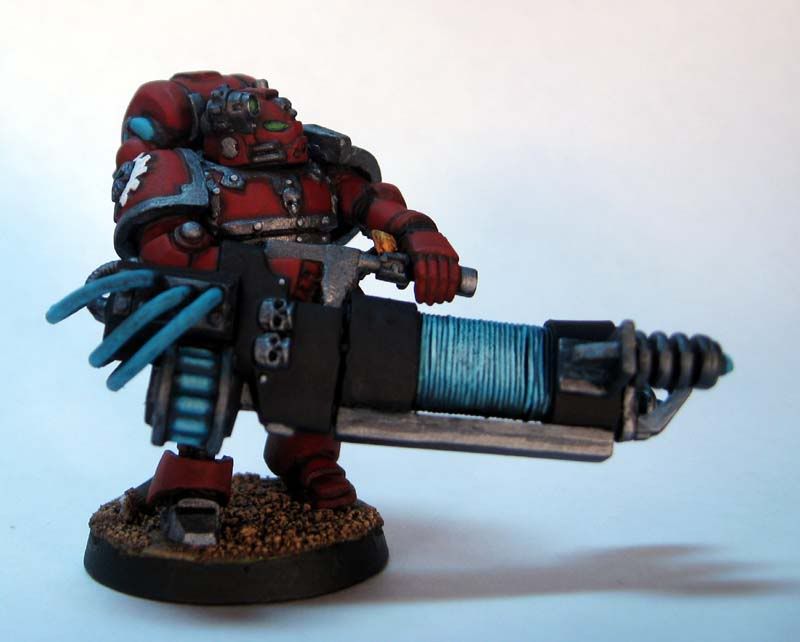
And finally some completed shots:

And there you have it! I was pretty proud of this model when I finished it. Lately, he's been showing his age. Funnily enough, while my painting skills have improved overall, I no longer make creative, scratch built models like this. Somewhere in the progression, I lost that bit of creativity and boldness that would push me to make a model like this. I've actually been thinking of replacing him with a new version that uses the Forgeworld Valthex model as a base. I don't' think I ever will, though, as this guy has seen the table less than ten times, ever.


2.13.2013

Dark First, or Light First?

I've had my Carnifex carapace bitz primed for a while now, but am stuck on how to proceed. As mentioned in the past, I'm aiming for a European Green Crab style scheme. Like this:

Or this:

Yes, those are slightly different colors, but the question remains the same regardless of color combo. Do you paint the dark first, or the light first?
The top crab goes from brown-green up to blue-green with yellow-green in there as well. I'm obviously going to have to dumb down the patterning, but I'm not sure if I should start with the blue-green and feather out to the brown-green, or start with brown-green and blend up to blue-green.

As you can see from my Marines, I'm a clean, smooth painter. I work with line highlights, layering, and freehand to make my stuff look nice-yet-plain. This mottled, mixed thing is completely alien to me. I'm just not sure where to begin!
I can probably just start slapping paint on my test pieces, since that's what they're for, but I'd prefer to set myself up for success with good advice.

Anyone have any?


11.02.2012

How I Prime Models

Want to know a secret?
I can't run a spray can to save my life.
Seriously. Every time I've ever tried to use spray can primer on a non-terrain model, I've screwed it up. Too much primer, gritty primer, missed spots. Spray cans and I just do not get along. As a result, I switched to brush-on primer years ago. At first I used Reaper's Brush-On Primer in white, but was clued in to the following method by someone whose name I cannot remember. Props and credit to that guy, whoever he was.

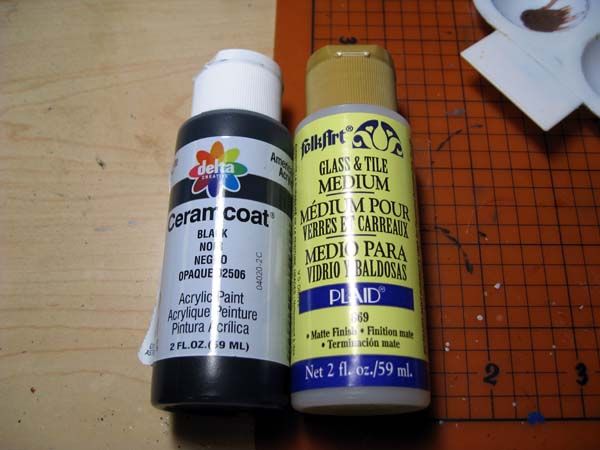
The recipe hinges on two main components: black craft paint and glass and tile medium.

I use Delta Ceramcoat black craft paint, as I've found it to be the best there is for craft paint. You can use whatever you like. The key is the FolkArt Glass and Tile Medium. This stuff is used to allow crafters to paint on smooth glass and glazed tiles. It gives the craft paint some "tooth." That's basically the attribute that allows paint to stick to a primer.
This stuff became hard to find in my local craft shops a while ago, so I bought a handful of bottle online one day when I found a supplier that carried it. If you attempt to find some for yourself, try the craft paint additives at your local Michael's, AC Moore, or JoAnn Fabric.
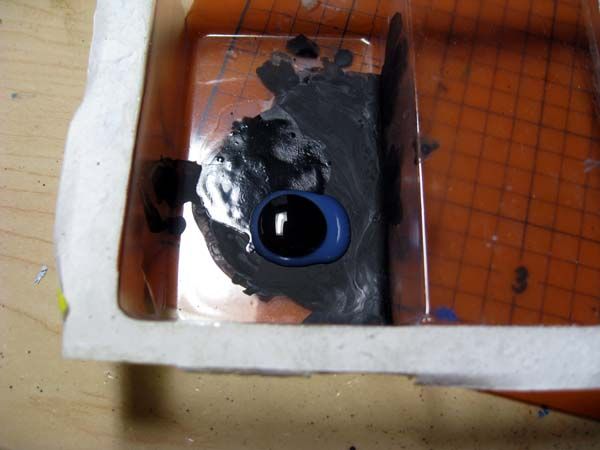
Pour out a 50/50 mix of paint to medium. I use an old blister pack for all my priming mixes.

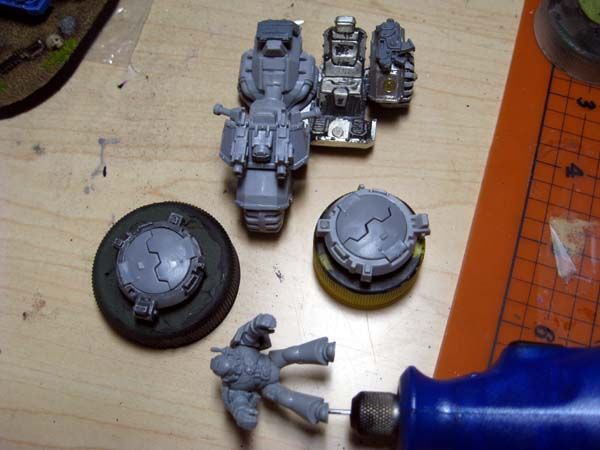
Mix well with a few drops of water. Maybe a 25/75 water/primer ratio. Here are the pieces I'm priming today (my next attack bike, its driver, and a couple Rhino hatches):

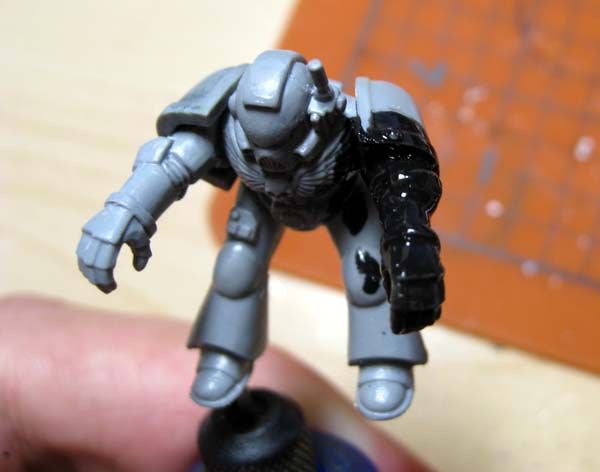
Use a crappy old brush and start applying the thinned mix to your model. You have to find a nice balance between too thin and too thick, and too much and not enough. It takes some experimenting to get used to.

Keep going until the model is covered. Make sure to avoid any small air bubbles. If you get any, pop them with a hobby knife or something sharp.

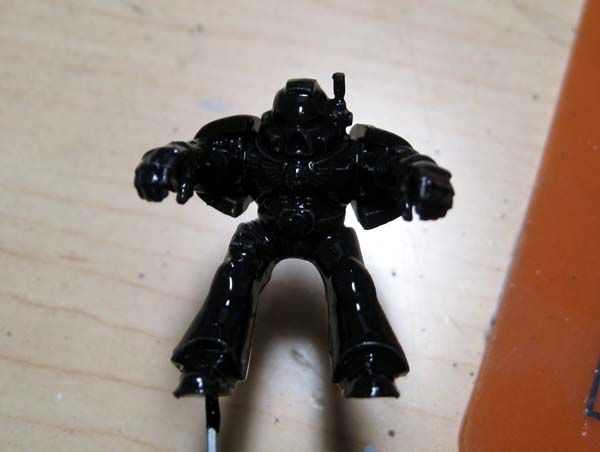
He looks like hell right now, but set the model aside for a couple hours to fully dry. Be patient. If you try to paint or add another coat before the first is dry, you'll tear the 'skin' of the primer and it'll look like crap. Should you do so, use a damp brush to wick away any clumps and then let it redry before trying again. Once the model is fully dry, the paint and medium cause it to 'shrink' to the model's contours.

Some larger, flatter areas might not have as much primer on them. If so, apply another thin coat.

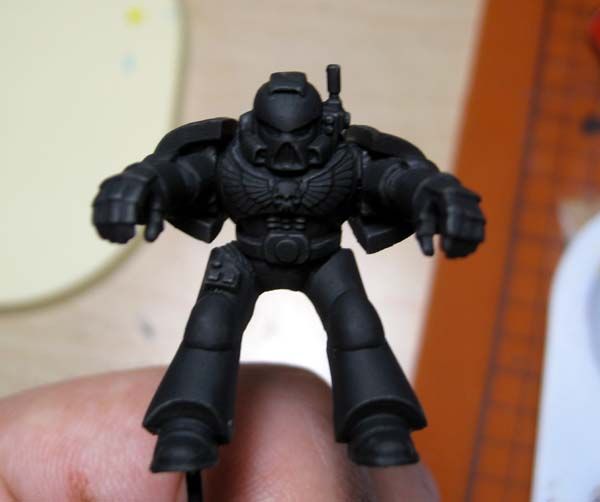
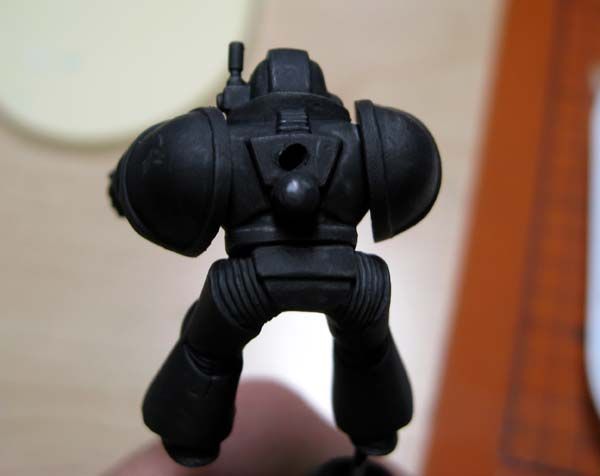
The hole in this guy's back is for a pin for his back pack. These older models didn't have large enough torsos to allow the backpack to attach properly when the shoulder pads are in this position. The pin reinforces the connection between pack and nub.
Once everything is completely dry, you can start painting!

10.22.2012

How I Base Models

Every model in my army is based nearly identically. They all stand on a display board that is also based in the same manner. Here's how I base my models, as well as a brief review of the resin base I used.

The base was purchased from Iron Halo. It is their Generic Round Pill 65x90mm. They're reasonably priced, and fit attack bikes perfectly. I've found that other companies attack bike bases are either too large or too small. These fit beautifully and leave some room for basing decoration.
Iron Halo is a small family operation in New Zealand.

The bases come pretty standard from the shop.

Very smooth, and a minimum of air bubbles. The air bubbles that were present were pinprick small, and can be safely painted or glued over.
As always with resin, be sure to wash the bases in cool, soapy water before attempting to use them. I didn't notice any mold release agent on the bases, but better to clean them up just in case.
After the bases are clean and dry, I set an attack bike on the blank base and sketch carefully around the tires with a colored pencil. You can use a regular pencil, marker, or whatever you prefer. You're just getting the general location of the tires down.
I then cut small squares of plasticard and glue them to the center of each tire area on the base. This makes sure the bike doesn't look like it's sinking into the sand. A valuable tip from From the Warp (in the blogroll, to the right).
I also draw around the perimeter of the open spaces available for basing. This ensures i don't glue rocks or bitz under the body of the bike, which is both pointless and can prevent the bike from being glued to the base.

The next step is to grab a bottle of white glue, a cheap brush, and your base.

Pour out a good amount of white glue onto a smooth, disposable surface. I like to use the inside of a blister pack. Load the brush with a bit of water, and thin the glue ever so slightly. Then start slathering it onto the base, being sure not to drown nay of your detail bitz.


You then want sand. I have a pound of craft sand that I got for a dollar at the craft store several years ago. It's a lifetime supply. One pound will last forever. I then filled a plastic squeeze bottle with sand. It's a cheap bottle from the candy making section.


Pour the sand liberally over the base, making sure to cover every bit of glue.


Let this sit overnight. Doing so ensures the glue is completely dried before you start working with paint. After your overnight wait, you can pick the base up and knock off all the loose sand. Tap the underside with your fingers for a while to get any loose grains off the base. Pour the sand back into your bottle.


You'll invariably have some grains of sand glued to detail pieces and the lip of the base. Gently pick them away using the tip of a hobby knife, a toothpick, or other pointed object. For the base lip, just use your thumbnail to peel away any bonded sand. Be careful not to get too close to the base top, or you'll have small gaps at the edge. If you have good eyes, you can spot such a spot at the leftmost edge of the base above.
Now to start painting.
I first apply a very liberal coat of Reaper Master Series Muddy Brown.


I do mean liberal. You need to cover every grain of sand to make sure it tints to the correct color and hides the base from showing through. While you're at it, go ahead and cover the detail bits as well. it makes them easier to paint in the following steps.
Let this dry for a few hours. Do not attempt any further steps until this coat is 100% dry, otherwise the glue will not have reset (the thinned paint softens it temporarily) and it will pull off when you drybrush.
Once the paint is dry and the glue recured, I apply a heavy drybrushing of RMS Leather Brown.

Follow that up with a lighter drybrush of RMS Amber Gold. (Autolevels altered the following photo a tad too much).

Paint your detail bits. I used RMS Shadowed Stone, Stone Grey, Weathered Stone, and Leather White for my rocks; Stained Ivory, Yellowed Bone, and Creamy Ivory for the skull. The chainsword was done with black and silver and GW washes.
Paint the base rim your desired color (I always use black craft paint), and seal the base. After sealing, apply any static grass.
The result:

A nice, neat base.