Showing posts with label Priming. Show all posts

1.03.2014

Picture time!

As I promised, here are some pics I took over the course of a couple projects, but that never panned out into anything resembling the tutorials I wanted them to.

First up is a series of WIP shots of my Hive Tyrant's base.

This one is the base with the materials glued down. It's gravel and washdown material from the end of my driveway, resin tree stumps and a doric column chunk from Secret Weapon, and some Greenstuff mushrooms.

Then the same base primed white (very exciting). It took quite a few spritzes from the can at various angles to get all the rocks covered and gaps primed.

After that it was a few coats of Reaper MSP Stained Ivory on the dirt and exposed wood. When that was dry, it got a thinned wash of Gryphonne Sepia on the ground and Thraka Green on the wood. I wanted the wood to look soggy and decayed, and it was the one thing i feel I didn't pull off well. I was generally unhappy with the end result of the stumps, which you'll see in a future post.

I wanted some shadows and a moist soil look around the stumps, so I went with Devlan Mud wash around them. I then added a few more areas of Devlan, Ogryn Flesh, Leviathan Purple, and even a few dots of Thraka Green. I mostly concentrated on the areas where grass and reeds would be, figuring they'd retain and grow in the moist areas.

This final shot shows where I started basecoating the stone grey, and added some purple and brown washes to the stump bark.

And that's where I stopped taking pictures because I was short on time.

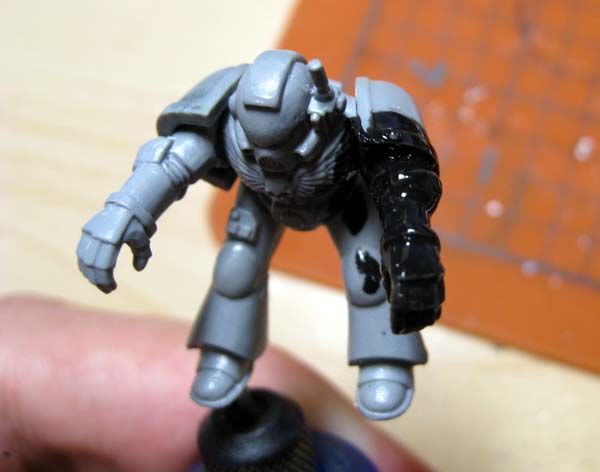
I grabbed these two shots of my WIP Devastator Sergeant in order to start a tutorial on how to shade red. Here's the sergeant with a basecoat of red on his helmet:
 
And then again after washing the red with Thraka Green, which is the proper color for shading red. I abandoned this tutorial because I was painting my ass off for the Standish Standoff.
 

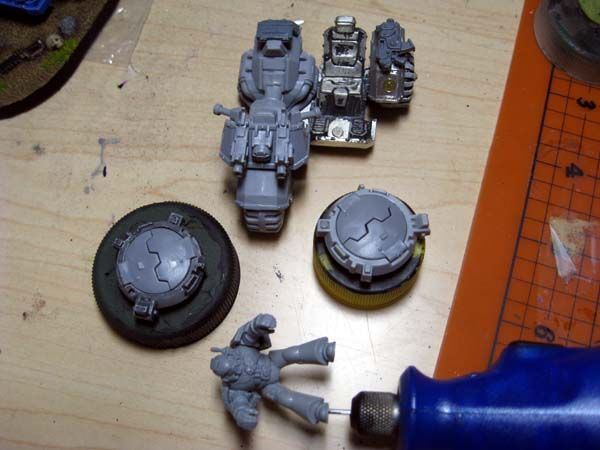
Then I have this shot of my drop pod being assembled, using slide clamps to hold the fins in place while glue cures. I was going to do a whole article on these and other clamps, but I assemble models far too slowly for that.

 And finally, a shot of one of my Genestealers after I had put a Sepia wash on the basecoated talons. The green skin is complete in this shot.

So, that is make-up picture day. I'll have some more shots of the finished Tyrant and Genestealers next time.


10.14.2013

The List, The Paint Desk

I figured it would probably be a good idea to share the army list that inspired my last entry. It's 1500 points, and designed for a composition-friendly event I'm attending down in MA this coming Saturday. It's hosted by the DorkaMorka gaming club. I've attended two or three of their past events, but had not been down there for more recent tournaments, wither due to family stuff or the bitter taste of being worked over by comp-bender lists the last time out.

Anyhow, here's the list:

Chaplain Cassius
6 Sternguard, Sergeant w/combimelta
5 Terminators, 2 chainfists, 1 assault cannon
10-man Tactical Squad in Rhino (non-veteran sergeant with chainsword, pistol, and meltabombs, missile/flamer)
10-man Tactical Squad in Rhino (non-veteran sergeant with chainsword, pistol, and meltabombs, plasmagun/multimelta)
7 Scouts, 6 snipers, camo cloaks, missile launcher
10 Assault Marines, veteran sergeant with pistol and powerfist, 2 flamers
Land Raider Crusader with extra stormbolter

Pretty tame list. It's got lots and lots and lots of bolter shots (seriously, I added a stormbolter to an LRC). It should be a challenge to play against Tau, Eldar, TauDar, etc. I'd originally wanted to use a full 10-man Dev squad in place of the Terminators, but won't have the required bolter Marines painted in time.

Speaking of which, that is what is currently on my painting desk. I just finished my sixth Sternguard member (fifth if you don't count the one with combimelta I painted ages ago). I'm planning to take some shots using the proper lighting tonight. I am now working on bolter Marines to get to the point where I can run a true half-company of 3 Tacticals, 1 Assault, and 1 Devastator squad. I'd always been three bolters short of that goal.
I'm also still working on the base for my Hive Tyrant. I bought a bunch of Secret Weapon kits to spruce up the base (tree stumps, broken Doric columns, grass, turf, etc). I'm waiting for some small mushrooms I made out of Green Stuff to cure, and then it's on to applying sand. I filled an empty GW static grass tub with some of the wash down material from my driveway. Sand, pebbles, and rocks. I think I need to sift it a little though, as the larger rocks are a little large for my tastes. I'm still struggling with exactly how I'm going to glue the Tyrant to the base, as he's got that stupid little sculpted rock section under his tail. I can't glue him down and then sand, as I won't be able to prime the base with him on there. I think I'm going to have to trace around the connection point, apply sand/gravel, then fix up the edges of the hole before spray priming. Any major gaps can be lightly covered with grass or turf. It's the best option I can think of. With Marines, I just put a little section of plasticard where their feet go and sand around those. But doing so with the Tyrant would mean the little rock he's attached to would "hover" over the sand. I should have removed it when I started. Lesson learned.

I also primed and put a first coat of base color on five Genestealers. I'm pretty excited about getting on with these guys. They've been sitting on top of my paint rack for a couple months now.


11.02.2012

How I Prime Models

Want to know a secret?
I can't run a spray can to save my life.
Seriously. Every time I've ever tried to use spray can primer on a non-terrain model, I've screwed it up. Too much primer, gritty primer, missed spots. Spray cans and I just do not get along. As a result, I switched to brush-on primer years ago. At first I used Reaper's Brush-On Primer in white, but was clued in to the following method by someone whose name I cannot remember. Props and credit to that guy, whoever he was.

The recipe hinges on two main components: black craft paint and glass and tile medium.

I use Delta Ceramcoat black craft paint, as I've found it to be the best there is for craft paint. You can use whatever you like. The key is the FolkArt Glass and Tile Medium. This stuff is used to allow crafters to paint on smooth glass and glazed tiles. It gives the craft paint some "tooth." That's basically the attribute that allows paint to stick to a primer.
This stuff became hard to find in my local craft shops a while ago, so I bought a handful of bottle online one day when I found a supplier that carried it. If you attempt to find some for yourself, try the craft paint additives at your local Michael's, AC Moore, or JoAnn Fabric.
Pour out a 50/50 mix of paint to medium. I use an old blister pack for all my priming mixes.

Mix well with a few drops of water. Maybe a 25/75 water/primer ratio. Here are the pieces I'm priming today (my next attack bike, its driver, and a couple Rhino hatches):

Use a crappy old brush and start applying the thinned mix to your model. You have to find a nice balance between too thin and too thick, and too much and not enough. It takes some experimenting to get used to.

Keep going until the model is covered. Make sure to avoid any small air bubbles. If you get any, pop them with a hobby knife or something sharp.

He looks like hell right now, but set the model aside for a couple hours to fully dry. Be patient. If you try to paint or add another coat before the first is dry, you'll tear the 'skin' of the primer and it'll look like crap. Should you do so, use a damp brush to wick away any clumps and then let it redry before trying again. Once the model is fully dry, the paint and medium cause it to 'shrink' to the model's contours.

Some larger, flatter areas might not have as much primer on them. If so, apply another thin coat.

The hole in this guy's back is for a pin for his back pack. These older models didn't have large enough torsos to allow the backpack to attach properly when the shoulder pads are in this position. The pin reinforces the connection between pack and nub.
Once everything is completely dry, you can start painting!