I've finally started piecing together some of my Tyranid models. My main focus is on my Hive Tyrant, but I'm also working on a Genestealer and a scratchbuilt spore mine.
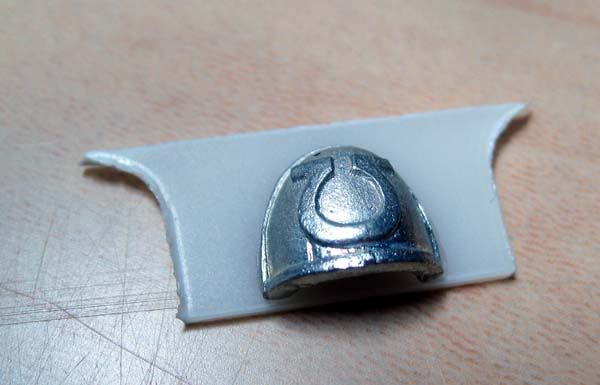
The Hive Tyrant is a very cool kit. I have the upper body together, and it required a minimum of Liquid Greenstuff to look good. I really only used it in the little seams between the back vents. That upper shell is FIVE parts! Two vent outers, two outer arm sections, and the center core section. The mold lines are nicely placed so they don't interfere with assembly and are easily reached with a file and blade to clean them up.
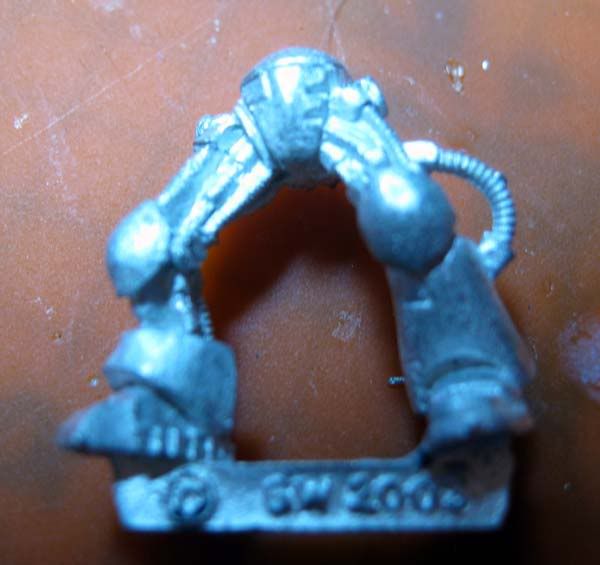
The tail section is ELEVEN parts. The waist ball joint, two tail halves, the tail end, tail stinger plate, two legs, and two toes per leg. The two tail sections went together nicely, with a minimum of seams and mold lines. Since I used the long, curved, "flying" tail, I needed a clamp to hold the midtail section to the elongated tail section. Thankfully, whoever designed the kit had the forethought to place a couple of the spines on the seam line between the two sections, which helped immensely in lining up the sections for gluing. The assembled tail is now sitting on my desk with a bunch of Liquid Greenstuff along the joint lines. I'll file it smooth this evening, I hope.
I have to interject for a moment that my pot of Liquid Greenstuff is starting to dry out. I bought it the first weekend it was released, and haven't used it a ton. But, the center of the pot is becoming granular and semi-cured. I used to be able to use a nylon brush to pull a bit out and use it on a model, but now I have to get a flat toothpick or coffee stirrer and scoop the stuff out of the pot and put it on a piece of plastic. Then add water and it thins back out. Not sure I'll buy another pot when this one is gone. I've heard Privater Press or Vallejo makes an equivalent product in a dropper bottle. Might try that next. I've also heard that a slurry of Milliput also serves the same purpose and is easier to press into the seams. I used to use superglue or plastic glue drawn over the area, but those are messy and leave behind scars if you don't do it right.
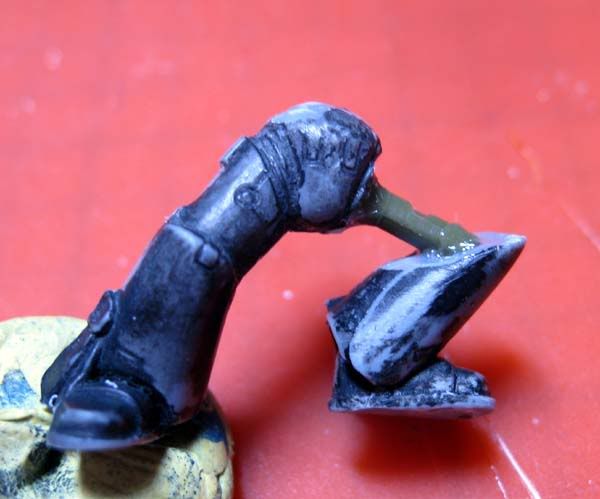
As I waited for the tail to cure and set, I cleaned up the legs. The kit only allows you to use the standing legs with the standing tail, and the flying legs with the flying tail. You could do some joint pinning and sculpting to make the legs swappable, but the legs don't really look quite right on the wrong tail anyways. Because I chose the flying tail, I cleaned up the flying legs. Again, mold lines are minimal and the joint has a nice little nub in it to make it perfectly align on the tail. The tail section even has little sculpted in overlays for the joint that make the fit seamless and hide any lines.
Before I put the legs on though, I need some feedback. The flying legs are intended for use on a winged Tyrant. They have scything talons added to the end of the standard hoof-shaped foot. This makes it so a winged Tyrant is always WYSIWYG. The wings take up an arm socket, so no matter what secondary arm set you use, you always have at least one set of scything talons on the model. Because my model is not winged, and instead "leaping," I'm torn over the feet. I can either leave the feet as they are, or cut the talons off and go back to the hoof look.
This won't be a magnetized, optimized game model. It's intended as a fun, artsy project that I can enter into a painting competition (and maybe win). As a result, I'm arming him with two sets of scything talons, and posing him as if he's pouncing forward onto his prey. Picture a velociraptor, or any Wolverine attack pose, or the world's biggest Hormagaunt. Because he's ground-based, I'm thinking the foot talons need to go. He'd never be able to walk around with them, so I should remove them, right? Should I remove them, I'll likely sculpt something on the underside of the hooves. Maybe cut a little bit of thin plasticard and mimic the galaxy's weirdest horse hoof?
The Genestealer I'm working on hasn't made much in the way of progress since I pulled him off the sprue. I'm agonizing over two things: what to do with his slotta base, and if I should leap into the sculpted conversion arena right off the bat.
I have never used a slotta base in my life. On all my Marines, I've snipped off the slotta tab, flied the feet flat, and treated them like non-slotta models. I even did that to my metal models. I do this because I create my bases separately from the model. Gluing a model to a base feels like a major pain when attempting to add sand, paint, flock, etc. Marines have big, fat, chunky feet and legs. Tyranids have thin, whippy feet and legs. I think I can drill a small hole into the Genestealer's foot and lower leg to insert a pin by which to hold him during painting, but am not sure.
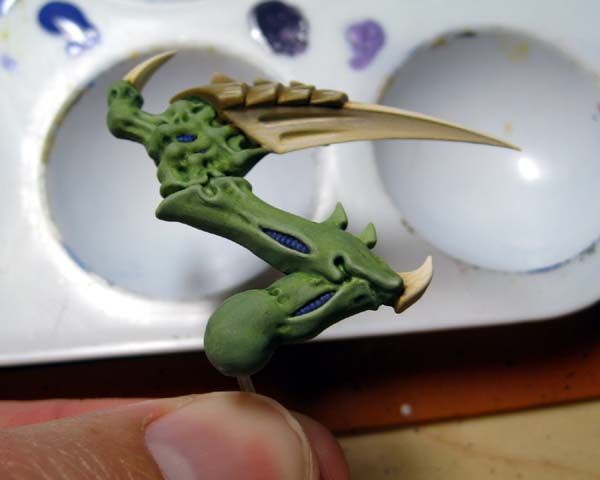
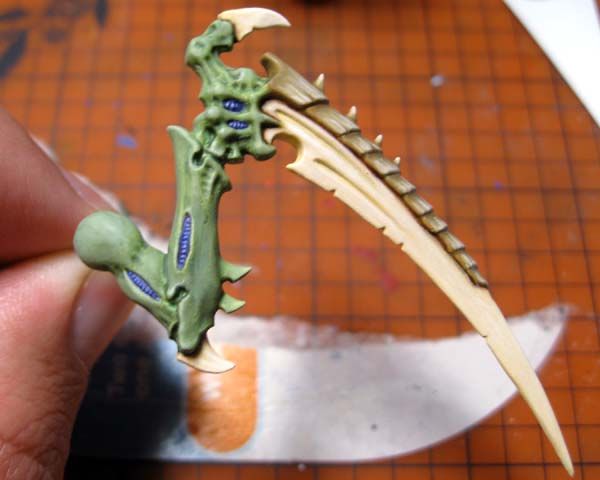
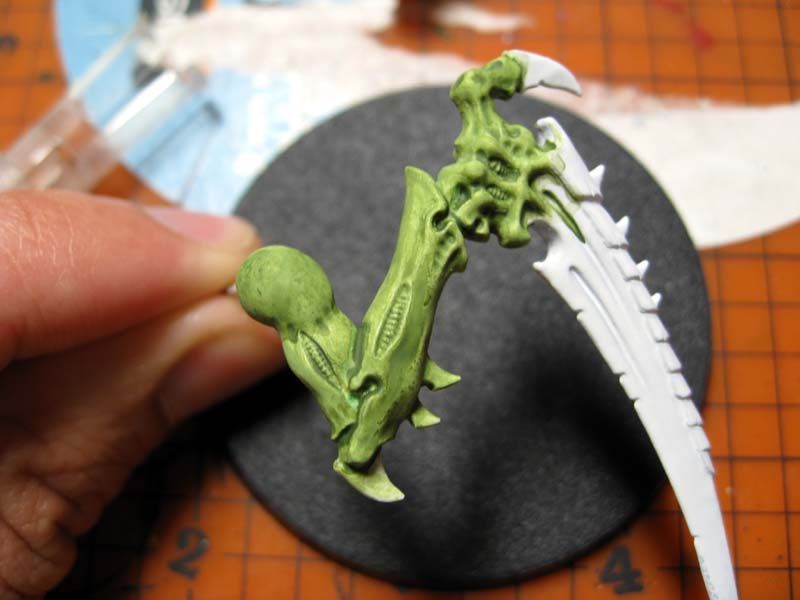
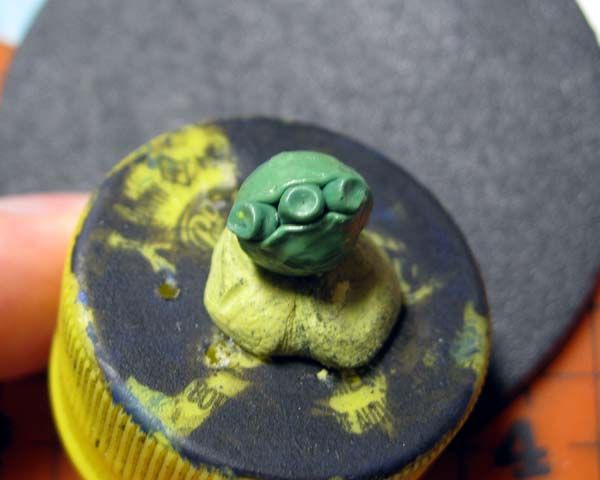
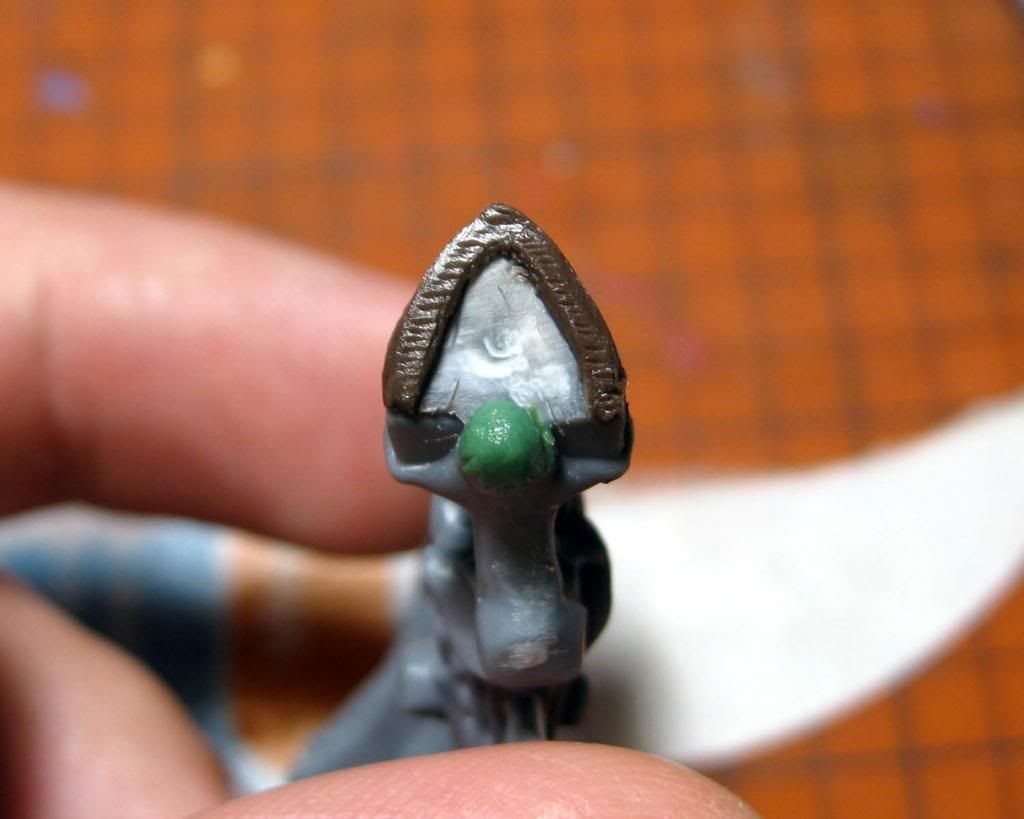
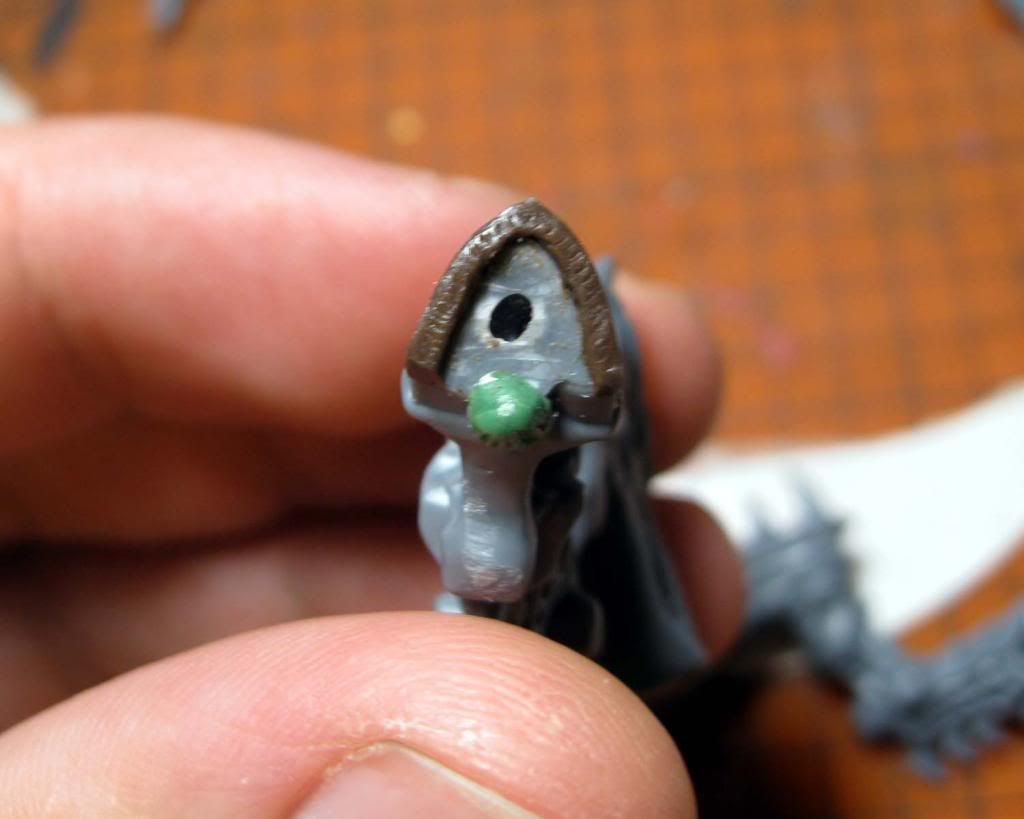
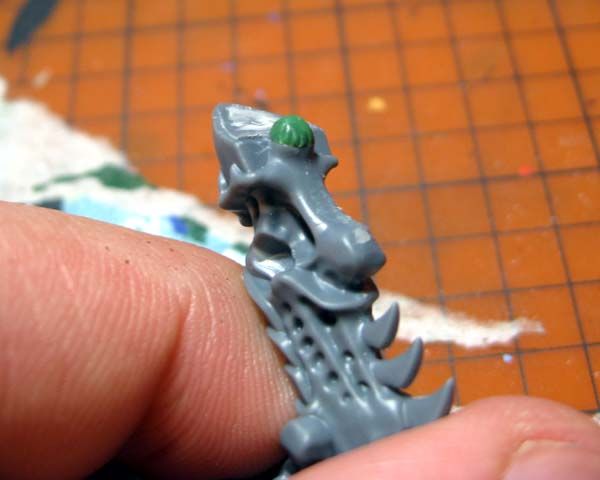
I have grand plans for my Genestealers as well, as I intend to hive them all tentacle faces. I've seen a bunch of examples of this done online, and really like the idea. My plan is to cut the lower jaw off of the head, sculpt the tentacles, and attach them to the upper jaw, using more GS to blend the transition so it looks natural. Essentially, they'll all look like Ymgarls from the codex art.
The question is whether I'm biting off more than I can chew. Should I start with a basic set of Stealers to start, just to get the hang of painting, or skip that and go straight to end product? My gut says start with the tentacles, as I have plenty of marine models to build and paint while waiting for tentacles to cure and glue to set.
How do you start off an unfamiliar project? Go for the desired result, or start with small test subjects first?
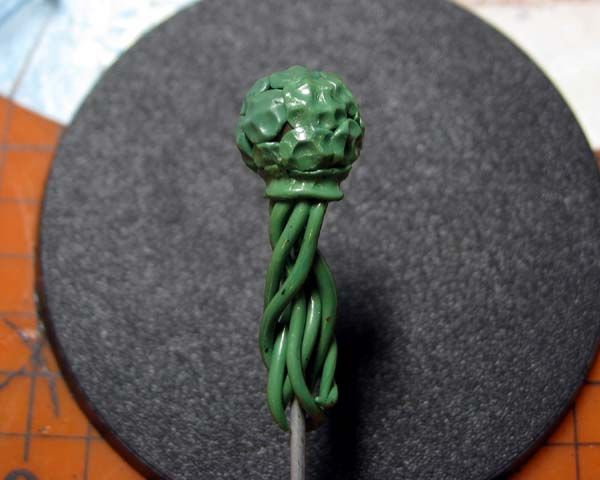
My spore mine is pretty rough at the moment. All I've done so far is cut a length of sprue, and chop the front off of three Gaunt spinefists. I then glued the spinefist parts to the sprue in a two-horizontal, one-vertical setup. I need to measure how tall I want the mine to be, and then insert a length of wire in the underside of the mine "head" area. I'll use GS to fill in the areas between the spinefists, making the gas sac part of the mine. Add some tentacles and a base, and done. Not at all time efficient, but it allows me to use up some junk bits and make nonstandard models.
I'll get some photos of all this work taken tonight, I hope. I've also got my first Sternguard model about 95% done as well, so you'll see him as well.