I can't run a spray can to save my life.
Seriously. Every time I've ever tried to use spray can primer on a non-terrain model, I've screwed it up. Too much primer, gritty primer, missed spots. Spray cans and I just do not get along. As a result, I switched to brush-on primer years ago. At first I used Reaper's Brush-On Primer in white, but was clued in to the following method by someone whose name I cannot remember. Props and credit to that guy, whoever he was.
The recipe hinges on two main components: black craft paint and glass and tile medium.
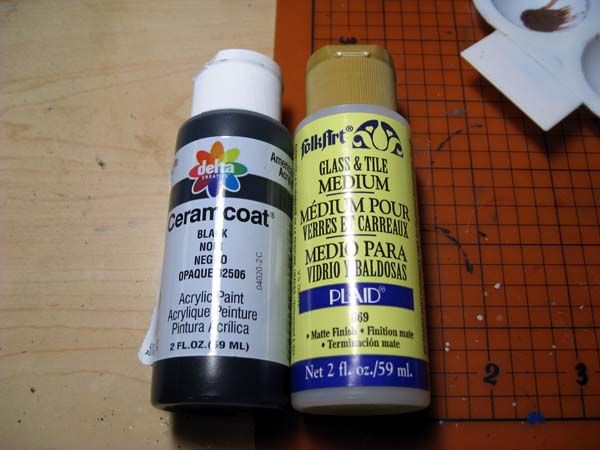
I use Delta Ceramcoat black craft paint, as I've found it to be the best there is for craft paint. You can use whatever you like. The key is the FolkArt Glass and Tile Medium. This stuff is used to allow crafters to paint on smooth glass and glazed tiles. It gives the craft paint some "tooth." That's basically the attribute that allows paint to stick to a primer.
This stuff became hard to find in my local craft shops a while ago, so I bought a handful of bottle online one day when I found a supplier that carried it. If you attempt to find some for yourself, try the craft paint additives at your local Michael's, AC Moore, or JoAnn Fabric.
Pour out a 50/50 mix of paint to medium. I use an old blister pack for all my priming mixes.
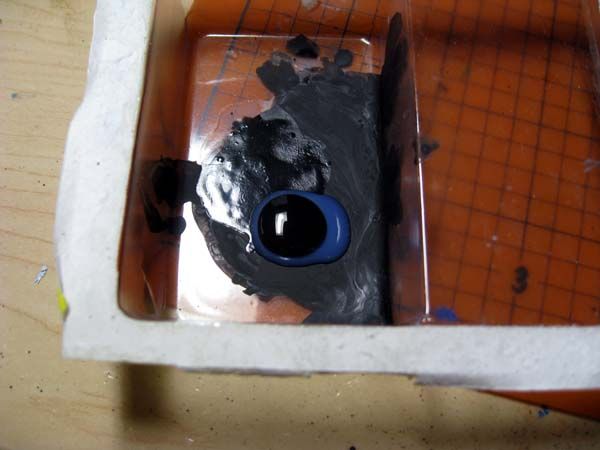
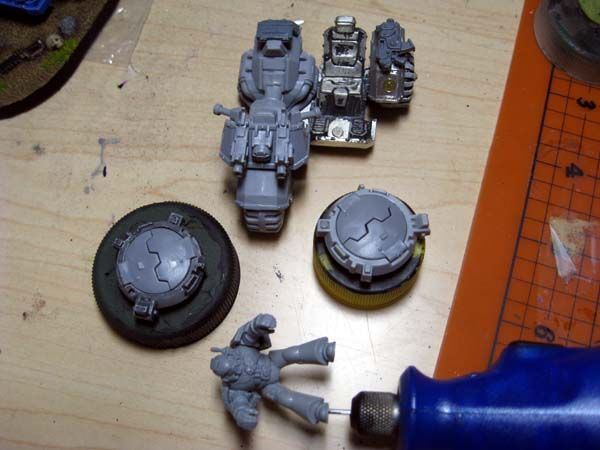
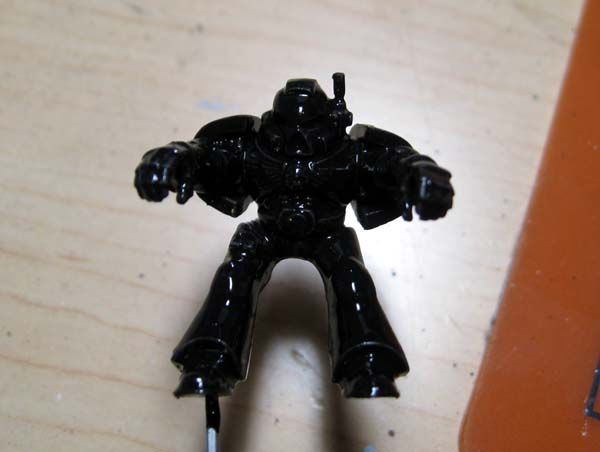
Mix well with a few drops of water. Maybe a 25/75 water/primer ratio. Here are the pieces I'm priming today (my next attack bike, its driver, and a couple Rhino hatches):
Use a crappy old brush and start applying the thinned mix to your model. You have to find a nice balance between too thin and too thick, and too much and not enough. It takes some experimenting to get used to.
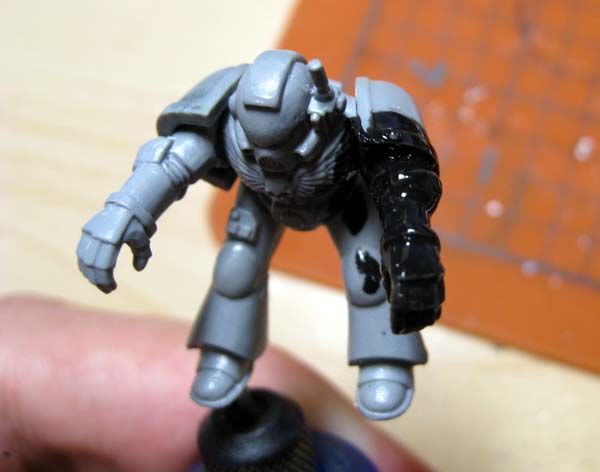
Keep going until the model is covered. Make sure to avoid any small air bubbles. If you get any, pop them with a hobby knife or something sharp.
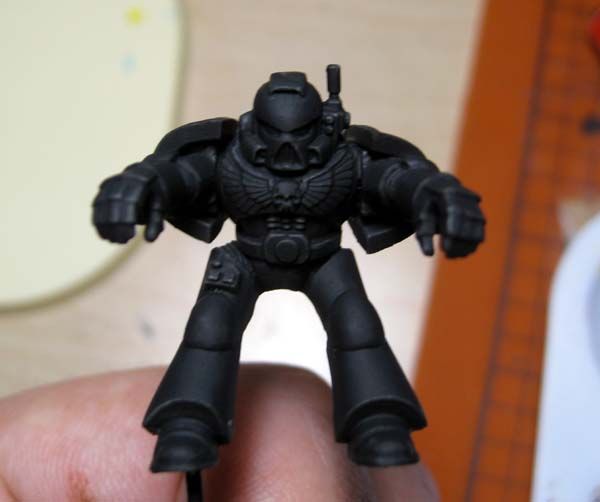
He looks like hell right now, but set the model aside for a couple hours to fully dry. Be patient. If you try to paint or add another coat before the first is dry, you'll tear the 'skin' of the primer and it'll look like crap. Should you do so, use a damp brush to wick away any clumps and then let it redry before trying again. Once the model is fully dry, the paint and medium cause it to 'shrink' to the model's contours.
Some larger, flatter areas might not have as much primer on them. If so, apply another thin coat.
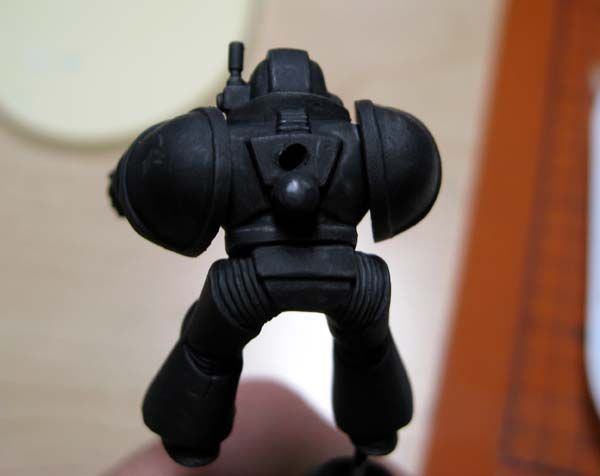
The hole in this guy's back is for a pin for his back pack. These older models didn't have large enough torsos to allow the backpack to attach properly when the shoulder pads are in this position. The pin reinforces the connection between pack and nub.
Once everything is completely dry, you can start painting!
I have similar issues with spray primer. It's not as bad with vehicles and terrain but I find it difficult to completely cover the model without spraying on too much.
ReplyDeleteI use gesso as a brush on primer. It's used to prime canvas before painting. Similar to your concoction it sticks well to the smooth surface, dries with some good tooth, and shrinks as it dries so it's easy to apply without obscuring detail. I have both white and black which I often mix to get a grey or tint-able primer.
There was a blogger I used to follow when I first started playing 40K who used Gesso as well. Sadly, he shut down his blog a couple years ago.
DeleteI thought about buying a small bottle of Gesso to see if it behaved in a similar manner. Do you have to thin yours at all?
Another thing I like about this concoction is that I can thin it down and apply it with my airbrush for large models, vehicles, or bunches of small models.
ReplyDelete